
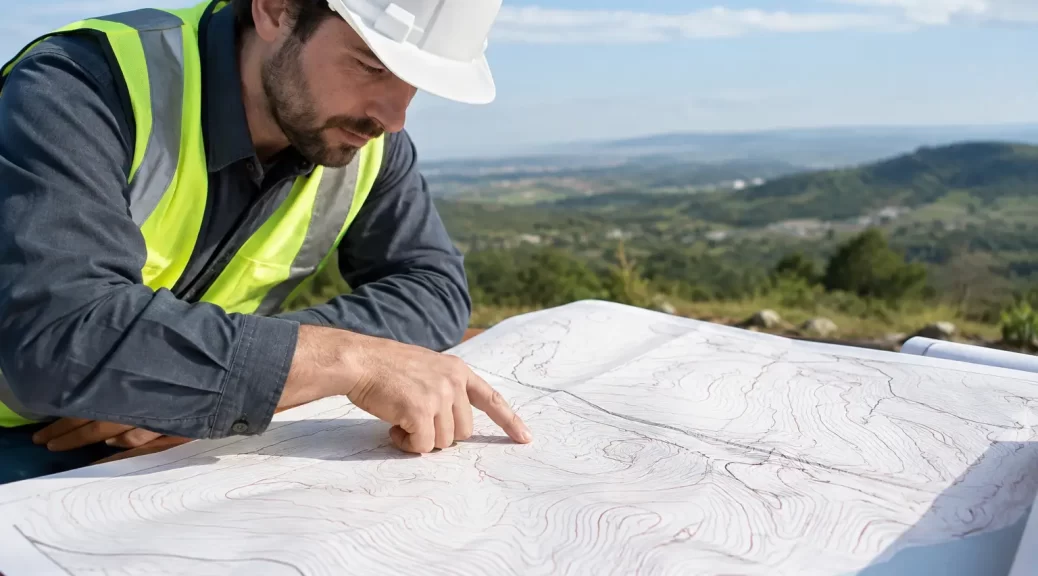
A contour survey can show, within seconds, whether a proposed driveway will work, where stormwater is likely to move, or why a building design may need costly retaining. Knowing how to read contour surveys helps landowners, architects, builders and developers make better decisions before designs are locked in or works begin on site.
A contour plan is commonly prepared as part of a feature and levels survey. It records the shape of the land using measured heights, known as reduced levels, alongside features such as buildings, fences, trees, pits, kerbs and drainage infrastructure. Read it properly and it becomes a practical design and construction tool rather than a page of lines and numbers.
Start with the datum, scale and survey information
Before assessing the slope, check the survey title block and notes. These identify the site address, survey date, drawing scale, contour interval and the datum used for levels. In Victoria, levels are often referenced to Australian Height Datum, or AHD. This creates a consistent vertical reference point, allowing designers to compare the site with council drainage information, flood levels and adjacent infrastructure.
A level marked RL 48.35 means the point is 48.35 metres above the nominated datum. It does not mean the point is 48.35 metres above the nearest street, fence or building floor. Where a plan uses an assumed datum instead of AHD, the relative fall across the site can still be useful, but the levels should not be directly compared with external flood, drainage or road data without confirmation.
Also check the contour interval. On a detailed residential survey, contours may be shown every 0.1 metre, 0.2 metre or 0.5 metre. A 0.2-metre interval means each contour line represents a 200 mm change in height. Smaller intervals give a clearer picture of subtle grades, which can matter on apparently flat Melbourne sites where drainage falls are tight.
How to read contour surveys line by line
Each contour joins points of equal elevation. If a line is labelled 48.0, every point along that line has a reduced level of 48.0 metres. The next line uphill may be 48.2, then 48.4, depending on the interval used.
Read the numbers in sequence to establish which direction rises and which direction falls. The land rises as the contour values increase and falls as they decrease. Do not assume the top of the page is uphill. North points, page orientation and the alignment of a street can easily mislead a reader who is scanning the drawing too quickly.
Contour spacing indicates steepness. Closely spaced contours show a steep grade because the land changes height over a short horizontal distance. Widely spaced contours show gentler ground. This matters when considering excavation, retaining walls, accessible paths, vehicle grades and the likely cost of earthworks.
For example, a fall of 1 metre over 10 metres is a 10 per cent grade. The same 1-metre fall over 40 metres is only 2.5 per cent. A contour plan allows a project team to estimate these conditions early, but detailed design levels and construction setout should always be based on properly calculated dimensions rather than a ruler measurement from a reduced-scale drawing.
Use spot levels to confirm critical locations
Spot levels are individual height measurements shown at specific points. They are particularly useful at building corners, fence lines, driveway edges, kerbs, drains, pit inverts, thresholds and changes in surface material. A spot level may show a detail that contours smooth over, such as a small local depression near a garage or a sharp change at a retaining wall.
If you are assessing a proposed building footprint, compare spot levels at the corners and around the perimeter. This identifies the actual crossfall and fall across the building area. On a narrow site, a modest difference in levels from one side boundary to the other can affect slab design, retaining requirements, cut and fill quantities and the relationship to neighbouring land.
Find the high points, low points and drainage paths
Water follows gravity, not property boundaries. One of the most valuable uses of a contour survey is understanding where surface water will naturally collect and where it is likely to travel during heavy rain.
Look for decreasing contour values to identify the overall downhill direction. A valley or drainage swale is usually suggested where contours form a V or U shape that points uphill. A ridge is the opposite pattern, where the land falls away on both sides. In built-up areas, these natural patterns are modified by paving, walls, buildings, kerbs and drainage systems, so contours must be read together with the recorded site features.
Pay close attention to grated pits, kerb outlets, spoon drains, downpipes and visible drainage lines. Their positions and invert levels can influence whether a proposed stormwater system can achieve the required fall to a lawful point of discharge. A pit cover level is not the same as its invert level, which is the level at the bottom where the pipe runs. Both may be needed for hydraulic design.
On sites affected by overland flow or flooding, contour information is only one part of the assessment. Flood planning controls, finished floor levels, council requirements and catchment information may also apply. A survey provides accurate existing conditions, but it does not replace a flood assessment or engineering advice where those are required.
Translate contours into practical design decisions
For a new dwelling, townhouse development or commercial project, the key question is not simply whether the site slopes. It is whether the proposed works can respond to that slope efficiently and comply with the relevant requirements.
A contour survey can help an architect position a building along the landform rather than across it, reducing excavation and retaining. It can assist a builder to identify workable access for machinery and assess whether a driveway grade is likely to be practical. For a subdivision, it supports early consideration of drainage, service connections, road interface and the likely need for easements or engineered solutions.
There are trade-offs. Cutting a site flat may simplify one part of construction but increase spoil removal, retaining, drainage complexity and the impact on adjoining properties. Following the natural grade can reduce earthworks, although it may require split-level design, stepped outdoor areas or more careful management of internal floor levels. The right approach depends on the development brief, planning controls, soil conditions, budget and the level relationship with neighbouring sites.
Contour plans are also useful when reviewing a design that appears to have adequate drainage on paper. Check whether proposed paving falls away from the building, whether thresholds sit appropriately above nearby ground, and whether a new retaining wall could redirect water towards a neighbour. Small level errors become expensive when they are discovered after concrete is poured or landscaping is complete.
Know what a contour survey cannot tell you
A feature and levels survey is a record of conditions observed and measured on the day of survey. It is not, by itself, a boundary definition, a town planning permit, a structural design or a geotechnical report. If boundary location is critical for design, fencing, building work or a subdivision, a re-establishment survey may be required.
Likewise, contours represent the ground surface at the selected interval. They may not show every minor bump, trench or landscaped edge, particularly where vegetation limits visibility or where later site works have changed the levels. Read the survey date and raise any concern about recent filling, demolition or construction before relying on the plan for design.
Accuracy also needs context. A professionally prepared survey uses suitable control, equipment and field procedures, but the required level of detail depends on the purpose of the project. A broad concept layout and detailed construction setout do not demand the same information or tolerances. Explain the intended use at the start so the survey scope matches the decisions it needs to support.
Questions to ask before relying on the levels
Before progressing a design, confirm whether the survey is current, whether levels are on AHD, and whether all relevant features have been captured. For a development site, it is also sensible to ask whether adjoining visible levels, drainage assets, street details and significant trees have been included where they may affect the proposal.
Melbourne Land Surveyors prepares feature and levels surveys to give project teams a reliable basis for planning, design and construction. Clear survey information at the outset helps reduce redesign, avoid preventable site surprises and keep decisions moving.
When you can see how the land rises, falls and drains, you can test a proposal against real conditions before those conditions become a problem on site.